
We're not going for perfect topology and absolute geometry were going for you guys knowing what all the commands are and what the fuck they actually do and how you use them.
In Part I you learned how to select a shape, how to select the different parts of the shape, how to manipulate it's faces and edges, how to extrude and how to cut the shape into sections plus a few more neat things.
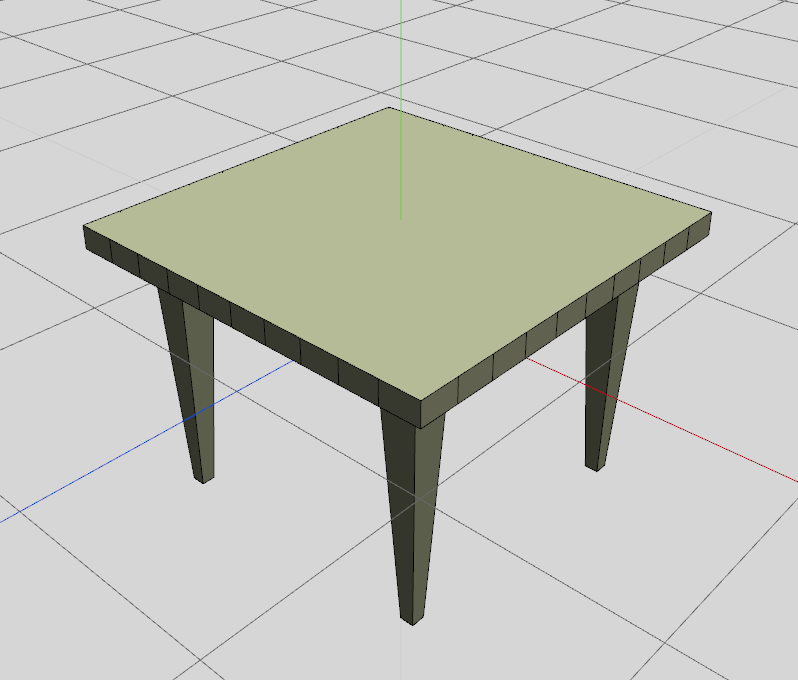
I'm going to start this part with the table we made last time. If you don't still have it then go make it again. It should take you less than ten minutes. Try and make it without looking at the tutorial and see how you do.
*wobbly screen as 10 minutes pass*
Got it in front of you now? Good. Time to make it look a little better and learn a few more things.

This is pretty much where we left it last time. The first thing we are going to do is clean it up and get rid of all those extra faces we created whilst learning the cut function.
Go ahead and highlight one of those squares on the surface of the table and then press "i".
Wings has now highlighted all faces that are identical to the one you selected. Handy uh? Now I want you to press the delete key once.
And there we have it. A nice flat surface with no extra faces in a couple of key presses. (and a click)
We now want to do the same around the rim of the table but we can't use the same process or...well go do it and see what happens. Ctrl+z will always bring you back.

Highlight the 2 opposite trims and then press delete to remove the extra faces and then repeat the process for the remaining 2.

Now we have removed the faces but we haven't removed the vertices. To do this we will learn another cool menu command. Clean-up.
Select the entire model (shown you how last tutorial so hope you remembered?), Right click -> Clean-up and then press the space bar.
We now have our table all cleaned up and ready to go. Although.... you could take someones eye out on those corners so let's do something about that.
Select the top surface (face) of the table and then change it to the edge tool.
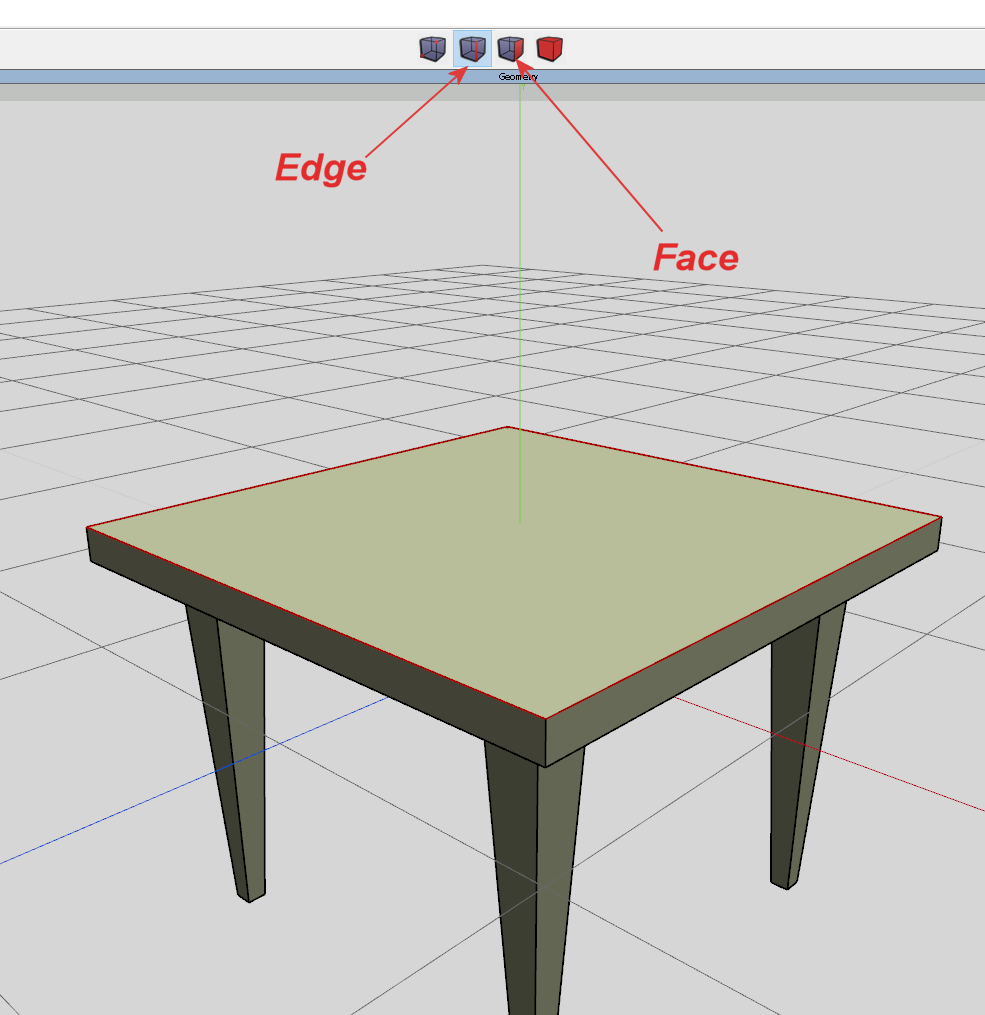
You will end up with all the upper edges we want to work with highlighted. Now right click that mouse and select "Bevel" from the menu. Gently move your mouse until you get something like the picture below and then click again to end the process when you are happy with the edges.

I still wouldn't want it in my living room so let's look underneath it now and highlight the bottom.
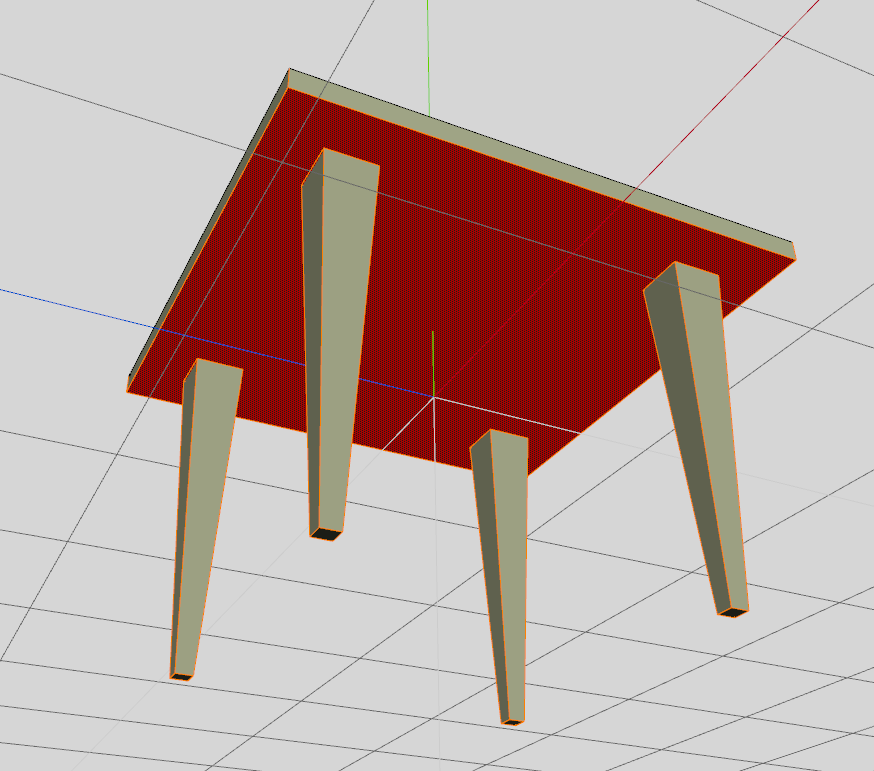
Right click and select "Scale Uniform". Move your mouse gently so that the underside shrinks a little like this;

Much better. Now at least we have some sort of shape going on instead of it looking like a floppy disc on legs.
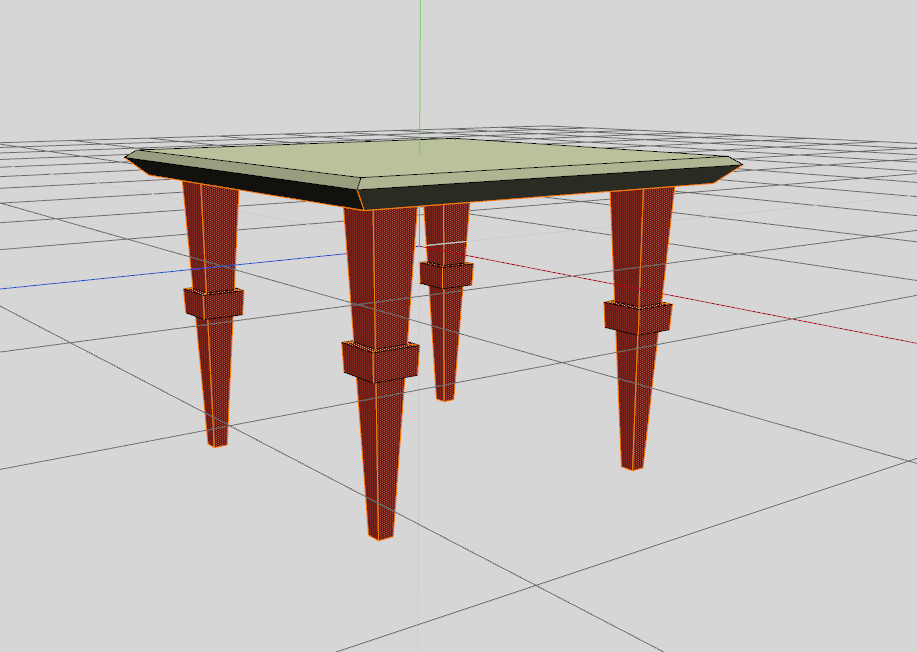
Speaking of legs.... let's give it some knees. Remember the cut command? Good. We're going to use it again right now. First make sure you have edge selected (before each new command it's good practice to press the space bar just to ensure nothing from your last process is still selected) now drag a box through the centre of your table legs

And then let go. This will highlight all the edges on the legs. Now I want you to press the "C" key. This will always cut an edge in half and connect it for you.

Now we want to make another cut above this one so press space to clear the selection, drag your box above the last cut to highlight the top half of the legs and press "C" again to make the connection cut.
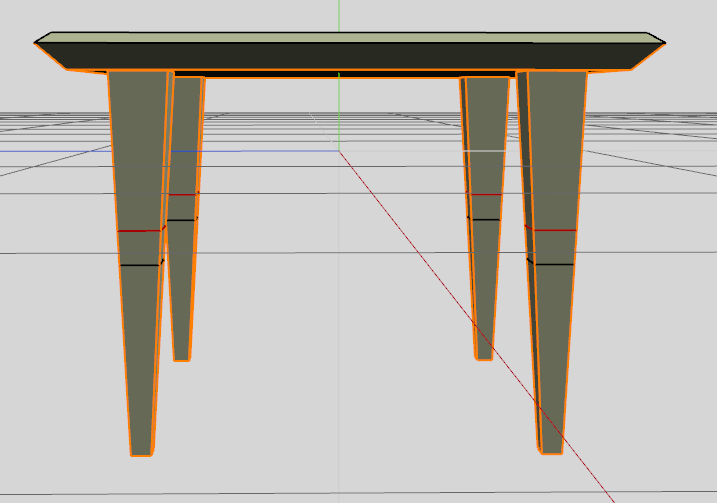
With this last cut still highlight I want you to right click to bring up the menu and select "Slide". Now move your mouse until you get a reasonable knee looking gap as above.
Once it is where you want it we can do what we learned earlier when we removed those extra faces to highlight the parts we need. Press space, select a "knee space" and press the "i" key. This will select all the identical faces.

Now. Let's extrude those faces with a quick right click, extrude and select "Normal". This will work "normal" to each face therefor equally expanding the faces normal from every direction.

I have this. Now select all the legs all the way up by dragging a box around them (use face tool).
Now this is where shit gets real and we let Wings do the maths for us. Press "S" and BOOM!!
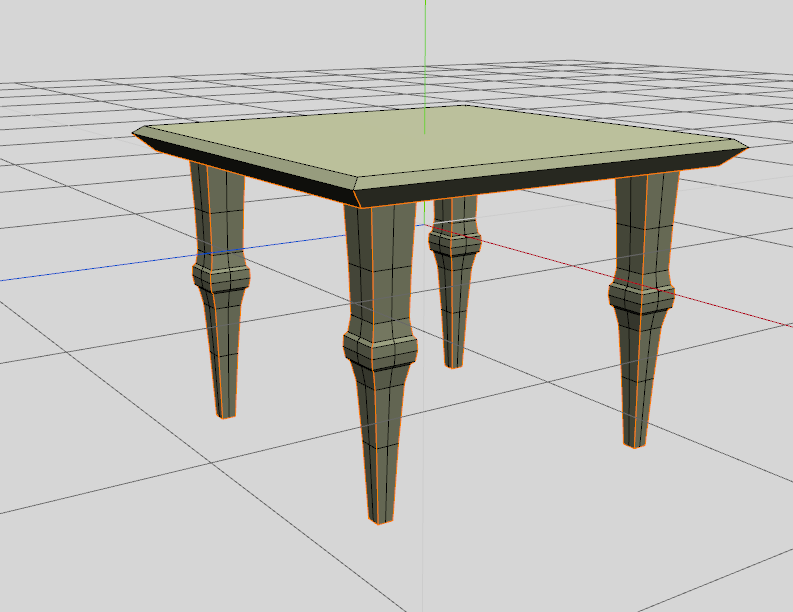
This looks a whole lot better than our previous offering doesn't it? Using the smooth command here isn't so bad but use it too much and there will be hell to pay. HELL I TELL YOU!
Now select the full model (in Body tool), right click and select "Auto-Smooth". This will define edges for cutting but it will also let you see more definition when we switch to smooth shading.
Now Auto-Smooth with the default settings doesn't really float my boat on this occasion (and also I want to show you something else) so right click again, go to Auto-Smooth and then click the gear wheel to the right of it. This brings up a little box and I want you to enter 10 in here.
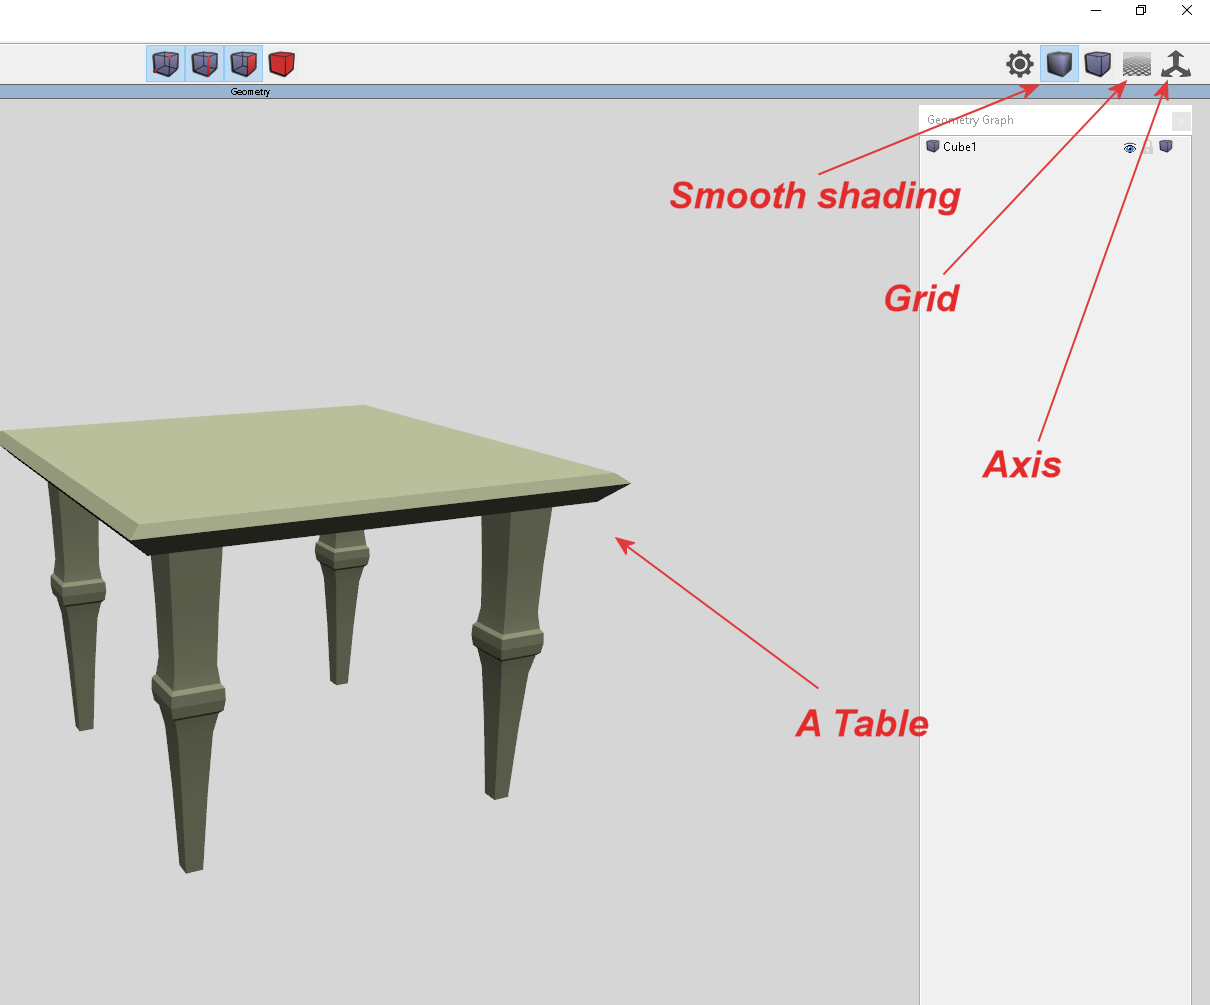
Turn on smooth shading, turn off the grid and axis and stare upon your sexy table with awe.
Now. There was a bunch of things in there for you too learn but one of the things I suggest you do now is playing with the tables legs. Go away and mess with them. Remember. Fucking it up is how you learn and you can always make it again.
Hope you enjoyed this part and I hope you come back. Click the Follow button above if you want to know when I add more to this fucktabulous series but for now. Tatty bye.


No comments:
Post a Comment