
Today of course we have a much more sophisticated method. Or do we? Well no we fucking well don't. It's exactly the same only the software does it for us and we have a bigger palette.
I'm not talking about PBR here. (Physics Based Rendering) that's a whole different ball game (forgive the pun).
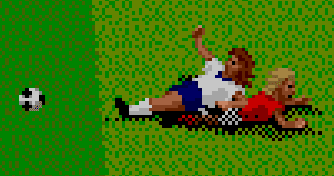
Vertex shading is just like the old days (yay!). Look at the sprites above, you can see that someone (cough, maybe me) has had to draw the shading on that guys leg, pixel by pixel starting dark and working the colour up to the top of the leg. Basically a shadow.

So what is the difference? None.
I can't teach you how to shade your model but I can teach you how to vertex shade and possibly give a tip or two.
The first thing you have to get right is your palette.
Open up Wings and drop a cube on the screen as I have above.
Window -> Palette.
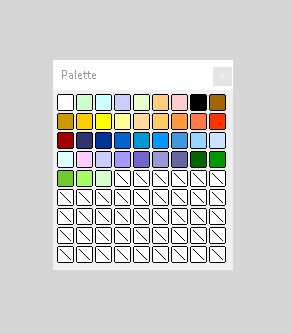
This is what you get. Horrible isn't it? Right click on it and "Clear All". This will give you an empty palette.
It's always good to start your first palette with a choice of greys. To do this we should click on the top left box and select white. Then the right hand box and select black. You should have this;

If you now click on any box in the middle and select "Interpolate" you will get your choice of greys all made for you.
Now go back to your cube and select a bottom edge and then click the desired colour.

It will pretty much do as we did 30 years ago. Starts off at base colour and works its way up to its original colour.

Altogether not too impressive until we add a texture. That's when shit gets real.
In reality what we have (and to a degree what we had back then) is an extra possibility to con the onlooker that we have some depth.

Putting your shading in the right place (and the right colour) can make a huge difference to a basic model.
The thing you have to decide from the off is; Where is the light coming from?
We can also use vertex shading for other things.
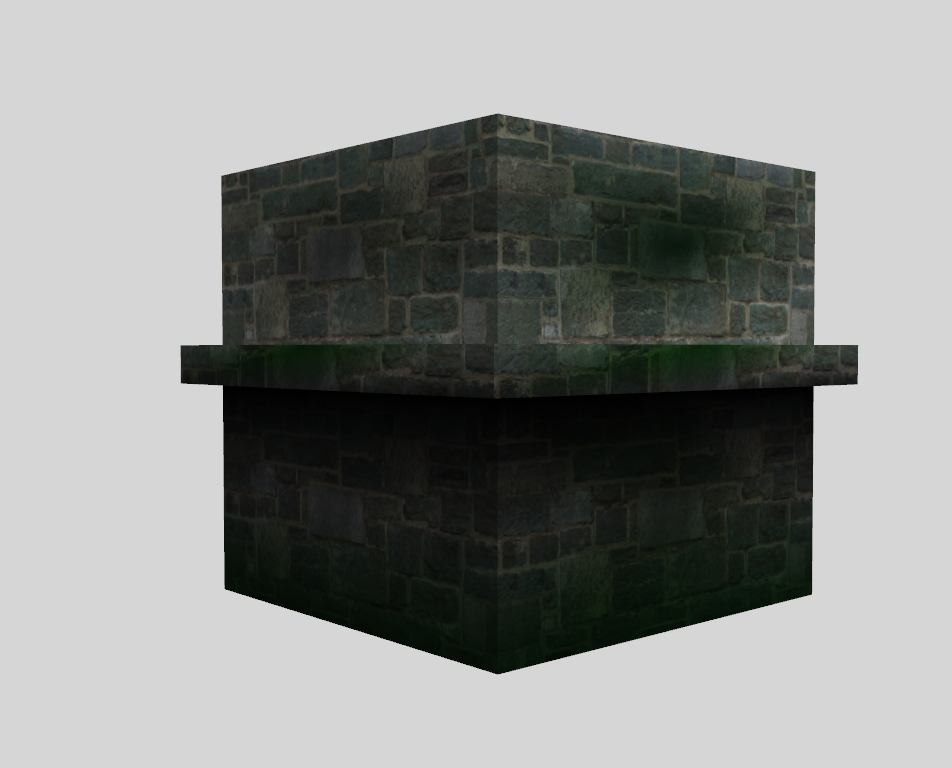
Just by adding a little green to it we can now have a mossy effect on our brick wall.
Vertex shading is also great for hiding things in hard to see places that can still be seen. Using a really dark shade in the right places can make a whole difference.
I could bang on about it all day and show examples but it's best if you just play around yourself.
Remember. The games, the models, everything in this realm is nothing more than illusion and the only limit is your imagination (And those damn people that use potatoes for PC's - Damn they piss me off!)
Why not re-visit the table we made and add some shading to it?


Which version of WingX are you using? I can't seem to apply the shading to an object once it's texturized :(
ReplyDelete