
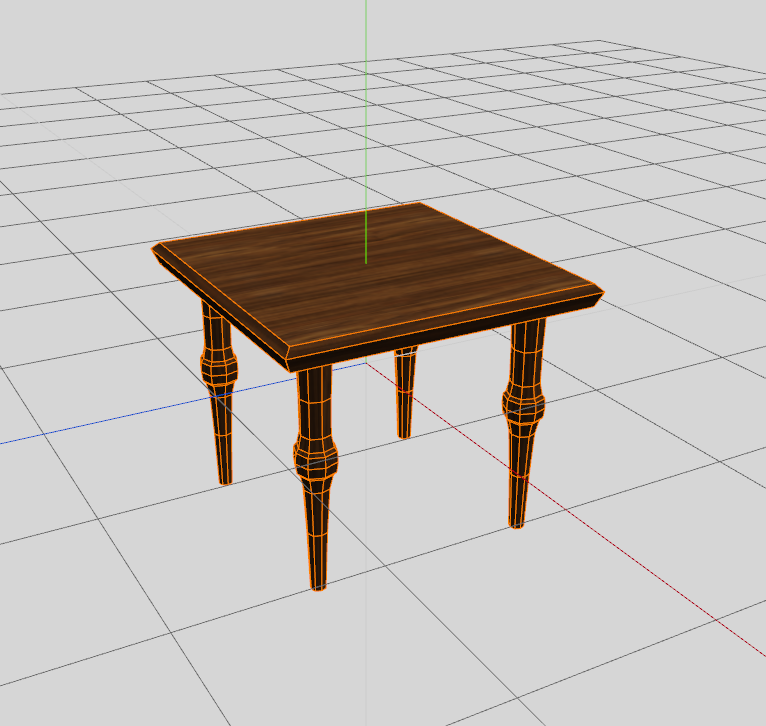
Here we have it. Our wonderful table in all its splendour.
Now. In your geometry window there is a little eye. Click it.

This will make our table invisible and prevent us from clicking on it.
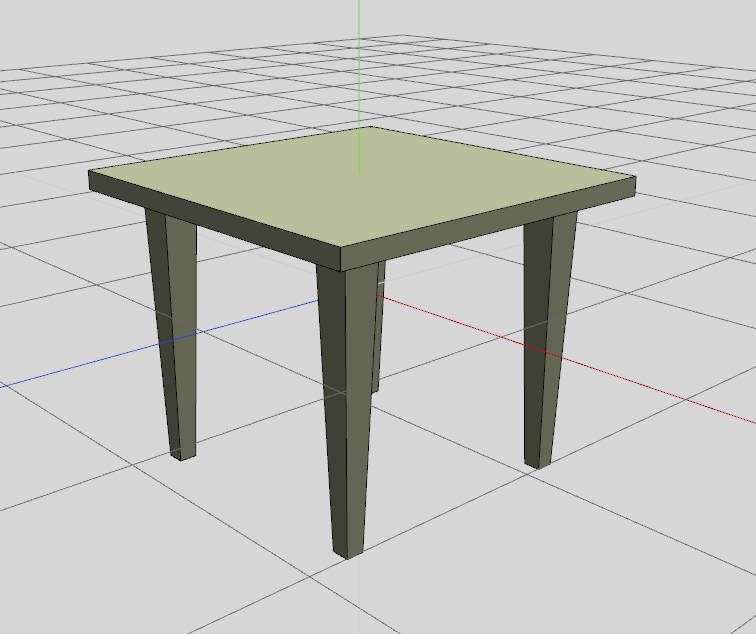
Now let us drift back to Part I and re-make our table up to a certain step Psst. Go to Part I and get to here then come back. Don't forget to clean up the faces to as we did in Part II.
You should now have this.
What we actually want to do now is make this pretty much match up with your model. To do this re-click the eye so you have both model and hull on screen at the same time. By the side of the eye icon is a little padlock. Click that this time and it will lock your model in place and stop you selecting it by accident.
Once that is done we are going to exclusively use the move to command to push and pull the collision mesh into place by selecting it's faces and right click, Move, "direction you want to go"
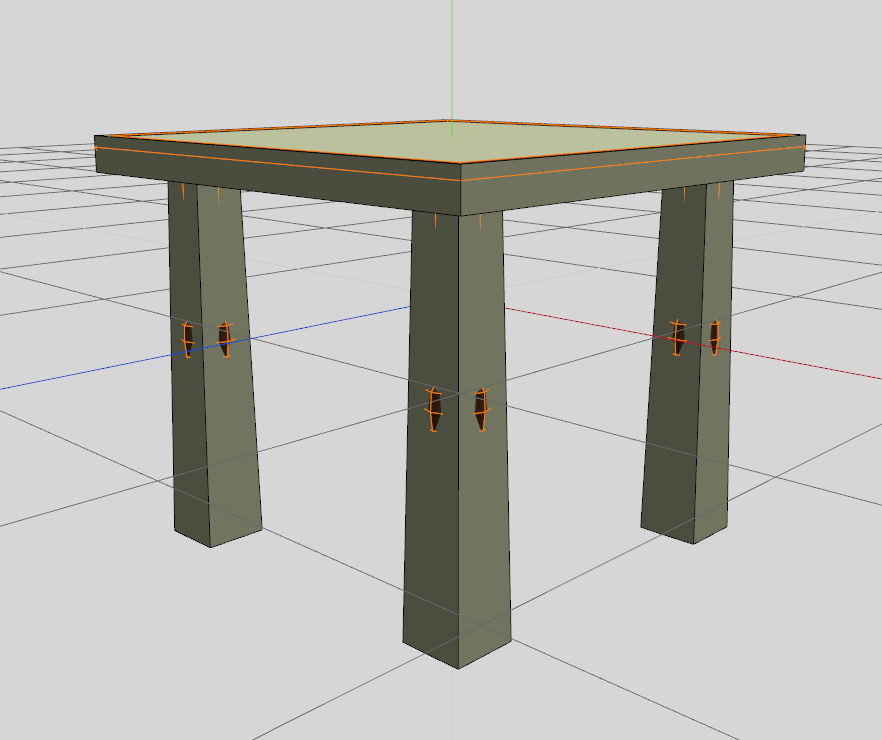
You should now have a second mesh (the hull mesh) over the first the is as close to the first as possible but retaining a simple low poly shape. That is it! You are done.

If you want to right click the names of the meshes and rename them to something sensible then do it. These are the names you will see for the NiTriShapes in NifSkope later on so it is always good practice. Especially for the hull mesh as you will see if you check out "Adding Collision in Blender"
This section will also explain a little better as to why you are bothering adding this part to your model.


No comments:
Post a Comment